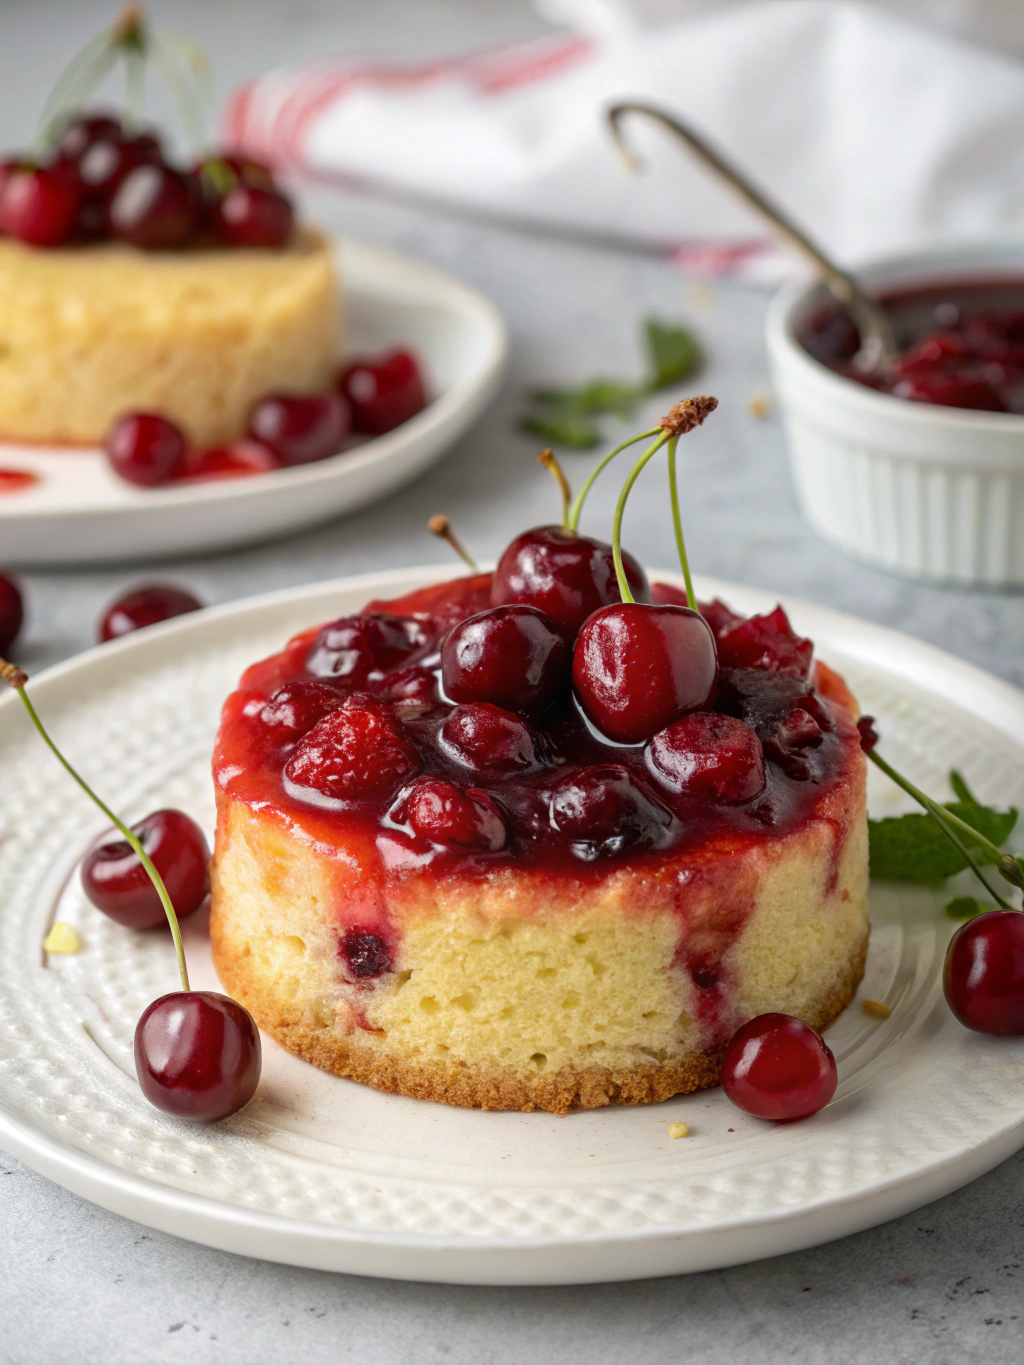
A delightfully moist cherry cake bursting with sweet-tart cherry flavor and topped with a luscious glaze. This homemade treat is perfect for summer gatherings, holiday celebrations, or anytime you crave the irresistible combination of tender cake and juicy cherries.
Easy Cherry Cake Recipe
There’s something undeniably special about a homemade Cherry Cake that captures the essence of summer in every bite. This classic Cherry Cake recipe has been a treasured family favorite for generations, combining the perfect balance of sweet cake with bright, tart cherries. What makes this recipe truly exceptional is how the cherries create pockets of fruity goodness throughout the tender crumb, while the simple glaze adds just the right amount of sweetness.
Cherry season brings with it endless possibilities, but perhaps none as beloved as a traditional Cherry Cake. Dating back to European kitchens where cherries have been celebrated for centuries, this recipe honors that heritage while remaining uncomplicated and accessible for today’s home bakers.
THIS RECIPE:
- Uses fresh or frozen cherries for year-round baking possibility
- Features a tender, moist crumb that stays fresh for days
- Requires simple pantry ingredients with no special equipment needed
- Can be dressed up for special occasions or enjoyed as a casual treat
| Recipe Detail | Information |
|---|---|
| Prep Time | 20 minutes |
| Cook Time | 45 minutes |
| Total Time | 1 hour 5 minutes |
| Servings | 10-12 slices |
| Yield | One 9-inch cake |
What makes this Cherry Cake recipe truly special is its versatility and simplicity. You don’t need to be an experienced baker to achieve perfect results, yet the finished cake looks and tastes like something from a professional bakery. The straightforward mixing method ensures a consistent texture, while the natural beauty of the cherries creates a visually stunning dessert with minimal effort.
Ingredients for Cherry Cake

The quality of your ingredients truly makes the difference between a good Cherry Cake and an exceptional one. For this recipe, I recommend using the freshest ingredients possible, especially when it comes to the star of the show—the cherries. Whether you use fresh cherries during peak season or frozen cherries for year-round baking, choosing plump, flavorful fruit will significantly impact your cake’s final taste.
For the Cherry Cake:
- 2½ cups all-purpose flour
- 2 teaspoons baking powder
- ½ teaspoon salt
- ¾ cup unsalted butter, softened
- 1½ cups granulated sugar
- 3 large eggs, room temperature
- 1 teaspoon vanilla extract
- ½ teaspoon almond extract (optional but recommended)
- ¾ cup buttermilk, room temperature
- 2 cups fresh cherries, pitted and halved (or frozen, thawed and drained)
- 1 tablespoon flour (for coating cherries)
For the Cherry Glaze:
- 1½ cups powdered sugar
- 3-4 tablespoons fresh cherry juice (or 2-3 tablespoons milk plus ¼ teaspoon almond extract)
- ½ tablespoon melted butter
- ¼ cup finely chopped cherries (optional)
When selecting cherries for your cake, look for firm, plump fruits with a deep color and bright green stems. Sweet cherries like Bing or Rainier work beautifully, but tart cherries like Montmorency create a lovely contrast to the sweet cake. In a pinch, jarred cherries packed in juice (not syrup) can work—just be sure to drain them thoroughly.
| Ingredient Category | Recommended Quantity | Quality Tips |
|---|---|---|
| Cherries | 2 cups | Select firm, deeply colored fruits; avoid soft or moldy cherries |
| Flour | 2½ cups | Use unbleached all-purpose for best texture |
| Butter | ¾ cup | Choose unsalted European-style for richer flavor |
| Eggs | 3 large | Fresh, room temperature eggs incorporate better |
| Extracts | 1-1½ teaspoons | Pure extracts rather than artificial for authentic flavor |
How to Make Cherry Cake
Creating this delicious Cherry Cake involves a few straightforward steps that combine traditional cake-making techniques with the special handling that cherries require. The process begins with proper preparation, follows with careful mixing, and culminates in the perfect baking time to ensure a moist, tender cake studded with juicy cherries.
Step-by-Step Instructions:
Prepare your ingredients and equipment
- Preheat your oven to 350°F (175°C)
- Grease and flour a 9-inch round cake pan or springform pan
- Bring cold ingredients (butter, eggs, buttermilk) to room temperature
- Pit and halve fresh cherries if using
Prepare the cherries
- Toss pitted, halved cherries with 1 tablespoon of flour until lightly coated
- This coating prevents cherries from sinking to the bottom of the cake
Mix dry ingredients
- In a medium bowl, whisk together flour, baking powder, and salt
- Set aside this dry mixture while preparing wet ingredients
Cream butter and sugar
- In a large bowl, beat softened butter and granulated sugar for 3-4 minutes until light and fluffy
- Use a stand mixer with paddle attachment or hand mixer on medium-high speed
- Don’t rush this step—proper creaming creates a tender crumb
Add eggs and flavorings
- Add eggs one at a time, mixing well after each addition
- Scrape down sides of bowl as needed
- Mix in vanilla extract and almond extract (if using)
Combine wet and dry ingredients
- Add dry ingredients in three portions, alternating with buttermilk
- Begin and end with flour mixture (flour, buttermilk, flour, buttermilk, flour)
- Mix on low speed just until combined—overmixing causes tough cake
Fold in cherries
- Gently fold flour-coated cherries into batter with a spatula
- Use a light hand to maintain air in the batter and avoid crushing cherries
Bake the cake
- Pour batter into prepared cake pan, spreading evenly
- Bake at 350°F for 45-50 minutes, until a toothpick inserted in center comes out clean
- The top should be golden brown and spring back when lightly touched
Cool properly
- Let cake cool in pan for 15 minutes
- Run a knife around edges and remove from pan
- Transfer to a wire rack to cool completely before glazing
Prepare and apply glaze
- Whisk powdered sugar with cherry juice or milk and melted butter
- Add liquid gradually until desired consistency is reached
- Pour over completely cooled cake, allowing it to drip down sides
- Sprinkle with chopped cherries if desired
Allow the glaze to set for about 30 minutes before slicing the cake for the cleanest cuts.
Tips for Making Cherry Cake
Creating a perfect Cherry Cake relies on technique and attention to detail. Here are some expert tips to ensure your cake turns out beautifully every time:
Key Tips for Success:
- Cherry preparation: If using fresh cherries, invest in a cherry pitter to save time and reduce mess
- Prevent sinking: Always coat cherries in flour before adding to batter to prevent them from sinking
- Room temperature ingredients: For proper emulsion and even texture, use room temperature eggs, butter, and buttermilk
| Technique | Recommendation | Why It Matters |
|---|---|---|
| Mixing method | Gentle folding when adding cherries | Preserves air in batter and prevents crushing fruit |
| Testing doneness | Use toothpick test at center and watch for golden edges pulling away from pan | Ensures cake is perfectly baked without drying out |
| Cherry distribution | Reserve a few cherries to place on top of batter before baking | Creates attractive pockets of fruit visible when sliced |
| Glaze consistency | Thick enough to coat back of spoon but still pourable | Allows proper coverage without running completely off cake |
When mixing the batter, pay special attention to the creaming process. The butter and sugar should be beaten until truly light and fluffy—about 3-4 minutes with an electric mixer. This creates air pockets that expand during baking for a tender crumb. Also, don’t be tempted to overmix after adding flour, as this develops gluten and results in a tough cake.
Pro tip: For the most intense cherry flavor, reserve the juice from pitting and draining your cherries to use in the glaze instead of milk. This creates a beautiful pink color and adds an extra layer of cherry goodness.
Make-Ahead Instructions
One of the beauties of this homemade Cherry Cake recipe is its flexibility for busy schedules. You can prepare components or the entire cake in advance with excellent results.
You can prepare the basic cake batter up to the point of adding cherries and keep it refrigerated for up to 24 hours. Store in an airtight container, then bring to room temperature for about 30 minutes before folding in the flour-coated cherries and baking as directed. This can actually improve flavor development in the batter.
For even more convenience, you can pit and prepare the cherries up to 2 days ahead. Store them in an airtight container in the refrigerator. If you’re planning to use the juice for the glaze, keep it in a separate container.
The fully baked (unglazed) cake can be wrapped tightly and kept at room temperature for up to 2 days before glazing and serving. For longer storage, freeze the unglazed cake following the freezing instructions below.
Prepare the glaze up to 2 days ahead and store in the refrigerator. You may need to whisk it again or add a drop or two of liquid to achieve the proper consistency before using.
Storing Leftovers
Proper storage is key to maintaining the freshness and flavor of your Cherry Cake after baking.
For room temperature storage, place leftover cake in an airtight container or wrap tightly with plastic wrap. The cake will stay fresh at room temperature for up to 3 days. Keep away from direct sunlight or heat sources, which can cause the glaze to melt or the cake to dry out prematurely.
If you need to extend the shelf life, refrigeration is an option. While refrigeration can sometimes dry out cakes, the moisture from the cherries helps this cake maintain its texture. Wrap individual slices or the remaining cake tightly in plastic wrap and store in the refrigerator for up to 5 days.
For best taste when eating refrigerated cake, allow slices to come to room temperature for about 20-30 minutes before serving to restore the soft texture and full flavor profile.
Pro tip: Place a piece of bread in the storage container with the cake. The bread will give up its moisture to the cake instead of the cake drying out, extending freshness by a day or two.
Freezing Cherry Cake
This Cherry Cake freezes beautifully, making it perfect for advance preparation for special occasions or preserving leftovers for future enjoyment.
For best results, freeze the cake unglazed. Allow the baked cake to cool completely, then wrap it tightly in a double layer of plastic wrap followed by a layer of aluminum foil or place in an airtight freezer container. Label with the date and contents. The cake will maintain optimal quality for up to 3 months in the freezer.
For individual portions, slice the cooled cake before freezing. Wrap each slice individually in plastic wrap, then place all slices in a freezer bag or container. This allows you to thaw only what you need.
When ready to serve, thaw the frozen cake (whole or slices) overnight in the refrigerator while still wrapped. Then bring to room temperature for about 1-2 hours before unwrapping. Once thawed, prepare and apply the fresh glaze according to the recipe instructions.
If you want to freeze glazed cake, place the cake in the freezer unwrapped until the glaze hardens (about 1 hour), then wrap as directed above. However, note that the texture and appearance of the glaze may change slightly after freezing and thawing.
Serving Suggestions
Elevate your Cherry Cake from a simple dessert to a memorable finale with these creative serving ideas.
This classic Cherry Cake pairs beautifully with a variety of accompaniments. For a simple yet elegant presentation, serve slices with a dollop of lightly sweetened whipped cream or a scoop of high-quality vanilla ice cream. The creamy elements create a delightful contrast to the fruity cake.
For a more elaborate dessert plate, add a drizzle of warm chocolate sauce over the cake and a sprinkle of toasted sliced almonds to complement the cherry flavor. A few fresh cherries on the side (with stems for visual appeal) make a beautiful garnish during cherry season.
Beverage pairings can enhance the cherry flavor wonderfully. Consider serving with:
- Coffee or espresso for a classic pairing
- Sweet dessert wine like Port or Sauternes
- Cherry liqueur such as Kirsch or Cherry Heering for adults
- Earl Grey tea with a hint of bergamot that complements the fruit
Serve Cherry Cake at room temperature for the fullest flavor experience. If the cake has been refrigerated, allow it to sit out for 30 minutes before serving to soften the texture and enhance the aromatic cherry notes.
FAQ
Can I use canned cherries instead of fresh or frozen?
Yes, you can use canned cherries in a pinch. Choose cherries packed in water or juice rather than syrup, and drain them thoroughly. Pat them dry with paper towels before coating with flour to prevent excess moisture in the batter. Reduce the sugar in the recipe by 2 tablespoons if using cherries that were packed in syrup.
How do I prevent cherries from sinking to the bottom of the cake?
The flour coating recommended in the recipe is the best defense against sinking fruit. Make sure each cherry piece is lightly coated. Additionally, using a slightly thicker batter (avoid overmixing which thins the batter) helps suspend the fruit. Some bakers also have success placing the batter in the pan, then sprinkling the prepared cherries on top rather than folding them in.
Can I make this recipe without a cherry pitter?
Absolutely! While a cherry pitter makes the job easier and less messy, you can pit cherries using common household items. Try using a pastry tip (the larger end), a paper clip opened up, or even a chopstick to push the pit out through the stem end. Another method is to place the cherry on the mouth of an empty bottle and push the pit through with a chopstick.
What’s the best way to create a marbled pink effect in the cake?
For a beautiful marbled effect, reserve about 1/4 cup of cherry juice from pitting or thawing your cherries. After preparing the basic cake batter, remove about 1 cup of batter to a separate bowl and mix in the cherry juice until you achieve a pink color. Drop spoonfuls of the pink batter into the main batter in the cake pan, then use a knife or skewer to gently swirl for a marbled effect before baking.
How can I tell when my Cherry Cake is perfectly done?
The toothpick test is reliable—insert it in the center and it should come out clean or with a few moist crumbs, but no wet batter. Additionally, look for these signs of doneness: the cake has pulled away slightly from the sides of the pan, the top springs back when lightly touched, and the edges are golden brown. If the top is browning too quickly but the center isn’t done, tent loosely with aluminum foil for the remaining bake time.