Looking for a crowd-pleasing dessert that captures the joy of spring? This homemade recipe combines the best of chewy cookies and celebratory desserts in one delightful creation. Perfect for gatherings, it’s designed to be simple enough for bakers of all skill levels while delivering impressive results.
Inspired by the popularity of oversized cookies, this version uses real butter and vanilla bean paste for rich flavor. The base is versatile—swap in lemon zest, colorful sprinkles, or seasonal candies to match any occasion. Whether you’re hosting a brunch or surprising loved ones, it’s a fresh twist on classic favorites.
What makes this dessert special? Unlike store-bought options, every ingredient matters. From the golden edges to the soft center, you control the quality. Plus, our tips ensure success even if your decorating skills are… let’s say “rustic”.
Ready to create smiles? Keep reading for step-by-step guidance, storage tricks, and creative variations that’ll make this your go-to spring recipe!
Table of Contents
Introduction to a Festive Spring Treat
There’s something magical about gathering loved ones around a homemade dessert that sparkles with seasonal charm. This festive creation bridges nostalgia and innovation, offering a canvas for edible artistry that’s as fun to make as it is to share.

Celebrating with Homemade Goodness
Decades ago, families began baking oversized treats instead of buying them. This tradition grew from birthday parties to holiday tables. Today, these creations shine during spring gatherings. Real vanilla bean and semisweet chocolate elevate every bite, proving simple ingredients make unforgettable moments.
The Story Behind the Recipe
Our version was born when a parent wanted to surprise her kids with something playful yet elegant. Inspired by social media trends, she shaped classic dough into a holiday masterpiece. The result? A buttery base with crisp edges and endless decorating potential.
You’ll discover how this recipe balances tradition with modern flair. We’ll explore ingredient choices that matter and share tips to make your version uniquely yours. Let’s turn your kitchen into a springtime workshop!
Essential Tools, Ingredients, and Preparation
Great baking starts with the right setup. Let’s break down what you’ll need to create a showstopping dessert that’s equal parts delicious and eye-catching.

Must-Have Baking Tools and Equipment
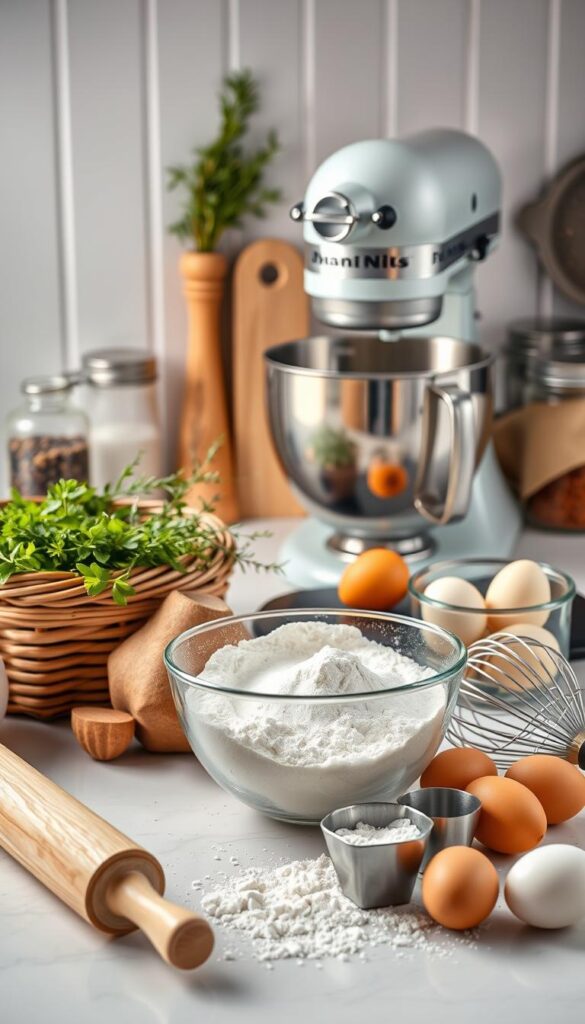
Mixing bowls and a sturdy hand mixer form your foundation. A kitchen scale ensures precise measurements—no guessing games with flour or sugar. For shaping, grab an offset spatula to spread dough evenly across your pan.
Choose a heavy-duty baking pan with raised edges. Light-colored metal prevents over-browning. Don’t skip the cooking spray—it keeps every crumb release smooth.
Key Ingredients and Their Roles
Unsalted butter at room temperature blends seamlessly with sugars. Use both granulated and brown sugar for balanced sweetness and chew. Fresh eggs bind the dough, while vanilla adds depth.
Measure flour by spooning it into your cup to avoid dense results. A pinch of salt enhances all flavors. Pro tip: Let cold ingredients warm up for 30 minutes—they mix better and create ideal dough consistency.
How to Make an Easter Cookie Cake
Transform basic ingredients into a showstopping treat with these foolproof techniques. Start by preheating your oven to 350°F—this ensures even heat distribution. Lightly coat your pan with cooking spray, paying extra attention to the edges.
Mixing and Measuring Tips
Combine melted butter with both sugars using a wooden spoon. Add room temperature eggs one at a time, mixing until creamy. Always measure flour by spooning it into your cup—packing creates dense results.
Whisk dry ingredients separately for even distribution. Fold in chocolate chips gently to prevent overworking the dough. Pro tip: Reserve 2 tbsp chips for topping!
Baking Techniques for the Perfect Texture
Press dough into your prepared pan using an offset spatula. Bake 22-25 minutes until edges turn golden brown—the center should spring back lightly when tapped. Let cool completely before adding candy decorations.
| Bake Time | Texture | Doneness Test |
|---|---|---|
| 20-22 min | Gooey center | Jiggly middle |
| 23-25 min | Chewy throughout | Light golden edges |
| 26+ min | Crispy base | Firm tap sound |
For festive flair, press reserved chocolate chips into warm dough after baking. This keeps candies intact and visually appealing. Remember: Ingredients at room temperature blend smoother, creating that dreamy chew!
Expert Tips and Baking Tricks
Ever pulled a dessert from the oven only to find it dry or unevenly baked? These pro strategies will help you avoid common pitfalls while unlocking your inner pastry chef.
Maintaining a Soft, Chewy Texture
Cream butter and sugar for 2-3 minutes until fluffy—this traps air for lighter results. Add 1 tsp corn starch to dry ingredients for extra chew. Pull your creation from the oven when edges turn golden but the center still jiggles slightly.
Customizing the Recipe for Your Taste
Swap ¼ cup flour with cake flour for tenderness. Try almond extract instead of vanilla for nutty notes. Fold in crushed pretzels or toffee bits with chocolate chips for contrasting textures.
Preventing Overbaking and Achieving Golden Brown
Set multiple timers during the final 5 minutes. Use this quick-reference table to master doneness:
| Bake Time | Visual Clue | Texture Outcome |
|---|---|---|
| 20-22 min | Pale edges | Fudgy center |
| 23-24 min | Light gold rim | Balanced chew |
| 25+ min | Dark edges | Crispy base |
Chill dough 1 hour before baking to prevent spreading. Press candies into warm cookie cake after removing from oven—they’ll stick without melting. Remember: A kitchen scale ensures perfect ratios every time!
Decorating, Variations, and Presentation Ideas
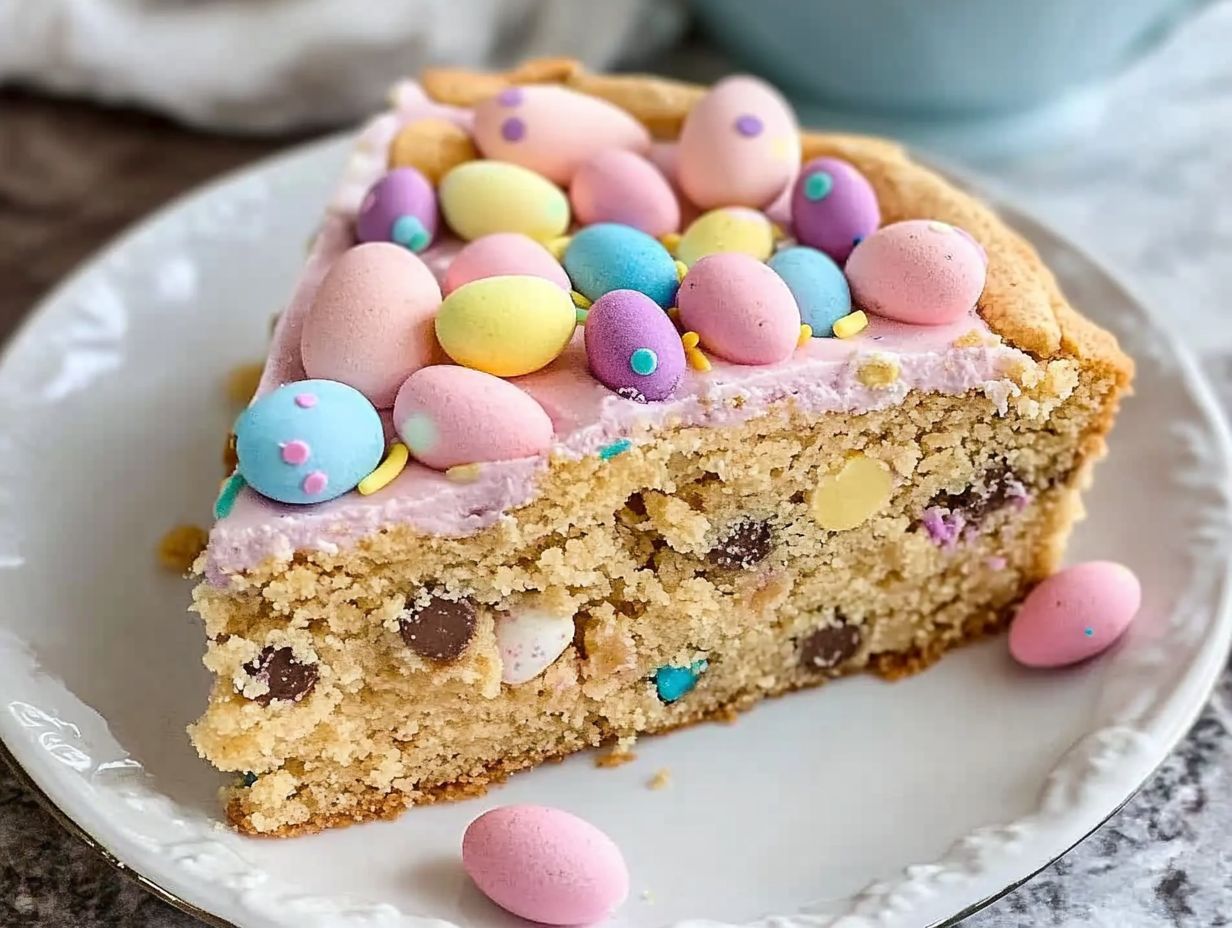
Turn your dessert into a vibrant centerpiece with playful designs that celebrate spring. Timing is key—press colorful M&M’s or mini eggs onto the warm surface right after baking. The residual heat helps candies stick without melting their delicate shells.
Creative Uses for Easter Candies and M&M’s
Arrange pastel-hued chocolates in swirling patterns or spell out cheerful messages. Try these ideas:
- Mix chocolate chips with crushed pretzels for sweet-salty clusters
- Layer candy-coated pieces around the edges like a edible frame
- Create a “nest” using shredded coconut and jellybean eggs
Seasonal Twists and Frosting Options
Swap traditional frosting for tinted buttercream in soft lavender, mint, or lemon shades. Pipe rosettes along the border or drizzle melted white chocolate in zigzag lines. For gatherings, slice into wedges or cutout shapes using cookie cutters.
Pro tip: Let kids customize individual portions with sprinkle shakers and candy bowls. Store leftovers in airtight containers—if there are any!
Conclusion
Baking memories with loved ones just got sweeter. This homemade recipe proves you don’t need fancy skills to create something extraordinary. With golden brown edges and a tender center, your creation will taste better than anything from a store shelf.
Keep leftovers fresh by storing them in an airtight container for up to three days. Serve slices at room temperature with a glass of milk or fresh berries for contrast. The best part? You control the add-ins—swap chocolate chips for nuts or dried fruit based on your cravings.
We’d love to see your twist on this treat! Share photos of your decorated masterpiece online and tag us. Got questions or success stories? Drop a comment below—your feedback helps us craft even better recipes.
Ready for more kitchen magic? Stay tuned for upcoming seasonal ideas that’ll keep your dessert table buzzing with joy all year!

